Proxmox Virtual Environement, allows to create containers based on LXC. These containers are lighter than Virtual machines.
Prerequisites : an USB on which the Proxmox ISO is flashed and a host which will be the server.
Installation
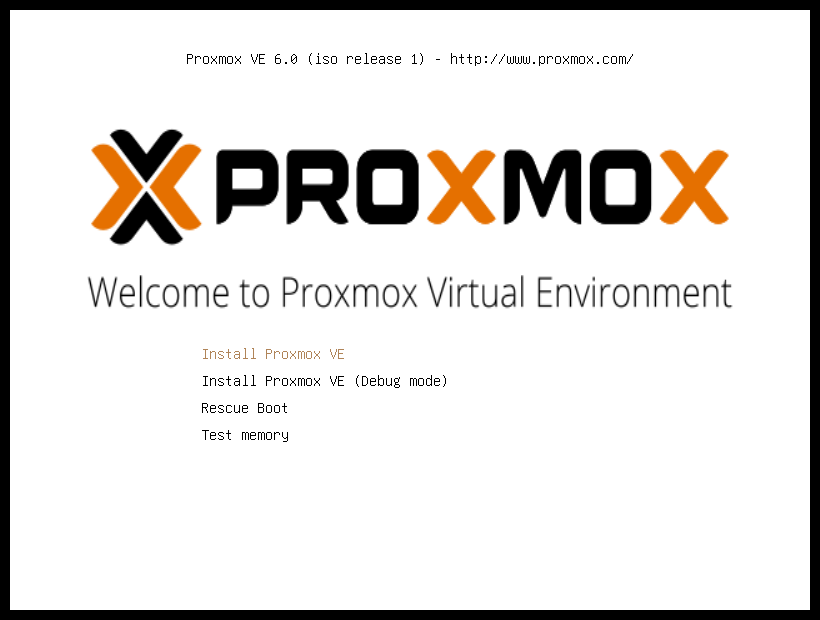
Put the USB key in the USB port and boot the PC on the key to start the installation. A window appears with the option « Install Proxmox VE », select them.
On the next page, accept the license.

Select your country to have the right keyboard settings, confirm, then write the root’s password, which will be use to access to the web interface, and an email address.
Then, others settings, like the FQDN, the network, the netmask and the name of the server are asked.
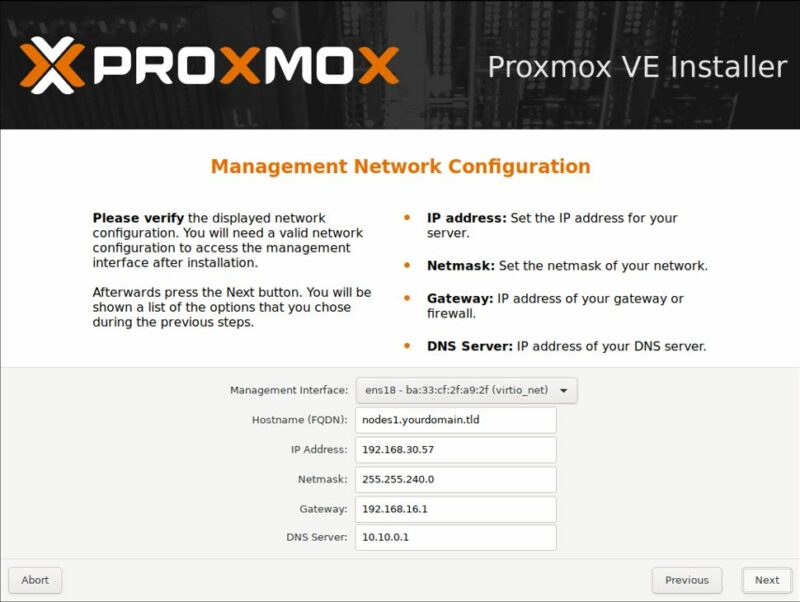
In my way, this server is on my home network, so it will have an address from the livebox, which start in 192.168.1.X /24. The gateway and the DNS will be the livebox.
After have click on Next, check the summary and start the installation.
Once the installation is ended, the server reboot and ask to remove the USB key.
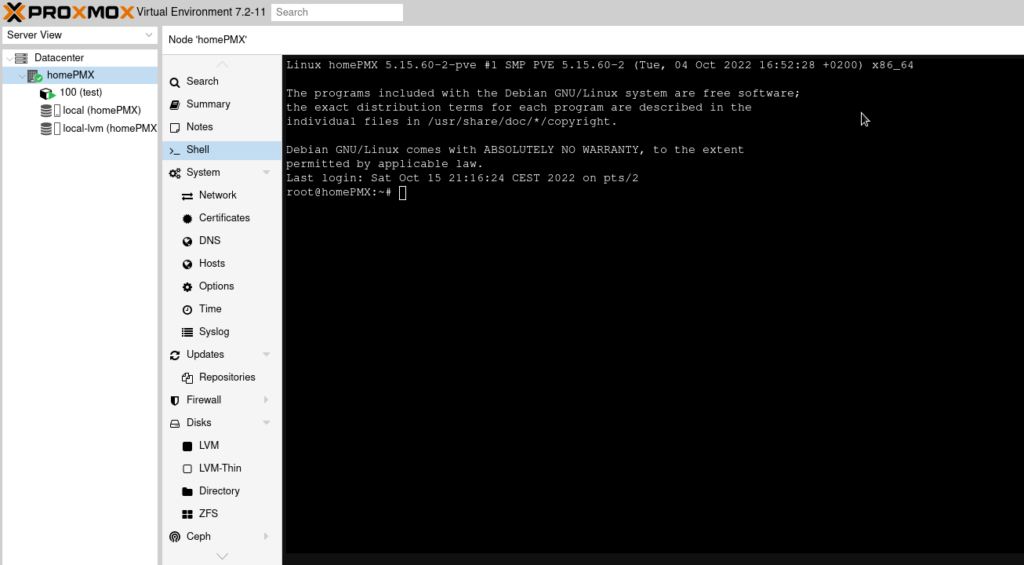
Once the installation is ended, the server reboot and ask to remove the USB key. Now, you have to connect on the web interface thanks to the IP address (which was set before) and the port 8006, like that: https://<Server_IPaddress>:8006.
Use root’s credentials.
Server configuration ans protection.
In the first time, we will configure the sources so that the updates are done from the repositories « no-subscription ».
In the directory /etc/apt/sources.list.d edit the file pve-enterprise.list. Put in comment the line.
Create the file pve-no-subscription, insert the following lines.
deb http://ftp.debian.org/debian bullseye main contrib
deb http://ftp.debian.org/debian bullseye-updates main contrib

# PVE pve-no-subscription repository provided by proxmox.com,
# NOT recommended for production use
deb http://download.proxmox.com/debian/pve bullseye pve-no-subscription

# security updates
deb http://security.debian.org/debian-security bullseye-security main contrib
Update the server
apt update
apt upgrade -y
Configuration of /etc/sysctl.conf: insert the lines:
net.ipv4.ip_forward = 1
net.ipv6.conf.default.forwarding = 1
net.ipv6.conf.all.forwarding = 1
net.ipv4.conf.default.proxy_arp = 0
# Enables source route verification
net.ipv4.conf.all.rp_filter = 1
# Enables the magic-sysrq key
kernel.sysrq = 1
# We do not want all our interfaces to send redirects
net.ipv4.conf.default.send_redirects = 1
net.ipv4.conf.all.send_redirects = 0
#Blocage ICMP
net.ipv4.icmp_echo_ignore_all=1
Load the configuration.
sysctl -p
Then, we will configure the firewall to allow connections from the server, block the connections from the Internet and perform a port forwarding for the containers.
Copy firewall_Host.sh and MyNatRules.config in the directory /etc/init.d.
firewall_Host.sh*
#! /bin/bash
### BEGIN INIT INFO
# Provides:       my-start-script
# Required-Start:    \$local_fs \$syslog
# Required-Stop:     \$local_fs \$syslog
# Default-Start:     2 3 4 5
# Default-Stop:      0 1 6
# Short-Description: starts my-start-script
# Description:       starts my-start-script using start-stop-daemon
### END INIT INFO


# script /etc/firewall_HOST.sh  (mode 700 - root)
# Valable pour tous les HNs (Fronts et Backs) de l'infra.
##############################################################
###			ATTENTION			######
###  Les règles diffèrent selon qu'on soit sur un Host	######
###  de type frontal ou backend. Règles nat différentes	######
###  et pas de trafic HTTP sur les backs, notamment	######
###							######
###           LIGNES CONCERNEES = 84 à 102		######
###                                                     ######
##############################################################
MyNatRules.config*
#!/bin/bash

## Rules for the CT 100
An example of rules for the container n°100. To add rules, copy – paste of the lines and change the destination ports for each CT.
Change the rights to allow files to be executed.
chmod 600 MyNatRules.config
chmod 700 firewall_Host.sh
In firewall_Host.sh change the ssh port of the server. This is more secure. The port 22 is the default port and is scanned during an attack. When you use a different port, higher than 1024, it’s more complicated to find out which is the right port. The ports from 10,000 to 20,000 are used in dynamic allocation, it is wise to choose a port between 20,000 and 65,536.
Make the same change in /etc/ssh/sshd_config
Restart the ssh service and the firewall
service ssh restart
/etc/init.d/./firewall_Host.sh
List the rules of the firewall:
iptables -L
Add user and disable root login.
We will disable the connection ssh for the root login. But, we need to have an access to the server. So, create a new user.
adduser <nom_user>
When the user is created, add him to the sudo group. If the command is not already installed, add it.
apt install sudo
usermod -aG sudo <nom_user>
Disable the root login in /etc/ssh/sshd_config
permitloginroot no
In this file, uncomment the two following lines:
PubkeyAuthentication yes
AuthorizedKeysFile
In your local computer, create a pair of keys. (One private key and one public key).
ssh-keygen -t ed25519
In /home/user, make a directory which call .ssh, then create a file authorized_keys. In this file paste the public key.
Change sshd_config to disable authentication with a password and restart the ssh service.
# In the file sshd_config
PasswordAuthentification no

# restart of the ssh service
service ssh restart
To connect to the server, use the command:
ssh -p <n°port> -i <path_and_name_private_key> <user>@<IP_address_server>
Configuration VMBR1
The server is secure, now, we will configure the VMBR1 so that the future containers communicate with the outside.
Make a copy of the file /etc/network/interfaces (this copy is used as a backup), edit the file and add the following lines:
auto vmbr1
iface vmbr1 inet static
	address 192.168.1.254/24
	bridge_ports none
	bridge_stp off
	bridge_fd 0
	post-up echo 1 > /proc/sys/net/ipv4/ip_forward
	post-up iptables -t nat -A POSTROUTING -s '192.168.1.0/24' -o vmbr0 -j MASQUERADE
	post-down iptables -t nat -D POSTROUTING -s '192.168.1.0/24' -o vmbr0 -j MASQUERADE
Modification in the file /etc/init.d/firewall_Host.sh
# In the section DEBUT DES REGLES
# to the lines:
### On NAT par la SOURCE toutes les connexions sortantes des CTs
iptables -t nat -A POSTROUTING -s 192.168.1.0/24 -j MASQUERADE

# change the address of the network depending on the network of the VMBR1
Now, configuration of the firewall to start automatically. When you are placed in the directory /etc/init.d/ type the command:
update-rc.d firewall_Host.sh defaults
Implementation of two-factor authentication
To end, we will set up the two-factor authentication. With the GUI, when you are placed on datacenter, click on permissions, users, two factors, add, TOTP. Add a description and scan the Qrcode with Google Authenticator. Then type the key which is displayed on your smartphone to confirm the two-factor authentication.
Our server is set up
In the next post, we will see how to create a container.
Sources:
Screnshots of the installation of the server come from:
https://www.it-connect.fr/comment-installer-proxmox-ve-7-0-et-creer-sa-premiere-vm/
The configuration files were created with the help of elgo.org
*Scripts are no longer displayed in articles. To get them, please contact me.